Untidy wires can ruin your home theater appearance and even cause accidents. to avoid any of these issues, you should properly manage all your speaker wires, media cables, TV cables, and power cables.
There are several ways to manage and conceal your cables and wires in your home theater for a better and cleaner setup.
- Label all your wires and cables.
- Separate AV cables form the power cables.
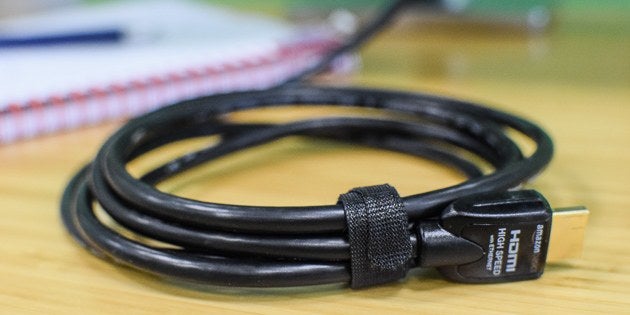
- Tie up the wires.
- Run the cables and speaker wires through raceways.
- In-wall cable concealment.
- Install cable raceways
These are some of the ways you can conceal and better manage your home theater wires and cables that we are going to cover in this guide.
1. Buy the right cables
Buying cables of the right length will come in handy when you manage your cables to reduce clutter and hanging wires.
This is why planning your home theater and knowing where everything is going to be placed is very important. Not all your devices will use cables of the same length but depending on where you are placing your devices, you can invest in cables that are neither too short nor too long.
However, you may need to buy wires and cables that are longer than the intended length in case you need to do any modifications to your system.
You will also need to invest in a well-designed power surge protector and use one power outlet per wall. The power strip should have enough outlets to handle your home theater components comfortably. I would recommend getting high-quality power strips with well-spaced side outlets from recognized brands.
2. Label all wires
When you are dealing with a lot of cables and wires it is always important to label all of them to avoid any confusion later on by knowing where all the cables are running to.
You can buy some color-coded labels for your speaker wires and the rest of the cables but you also have the option of making your DIY labels using a marker and masking tape. Wire labels do not cost much and can be bought from your local stores or online for cheap.
This may seem obvious but fail to label all your cables from the word go and you could easily lose track of where they are supposed to run once you begin your installation.
3. Manage your TV cables
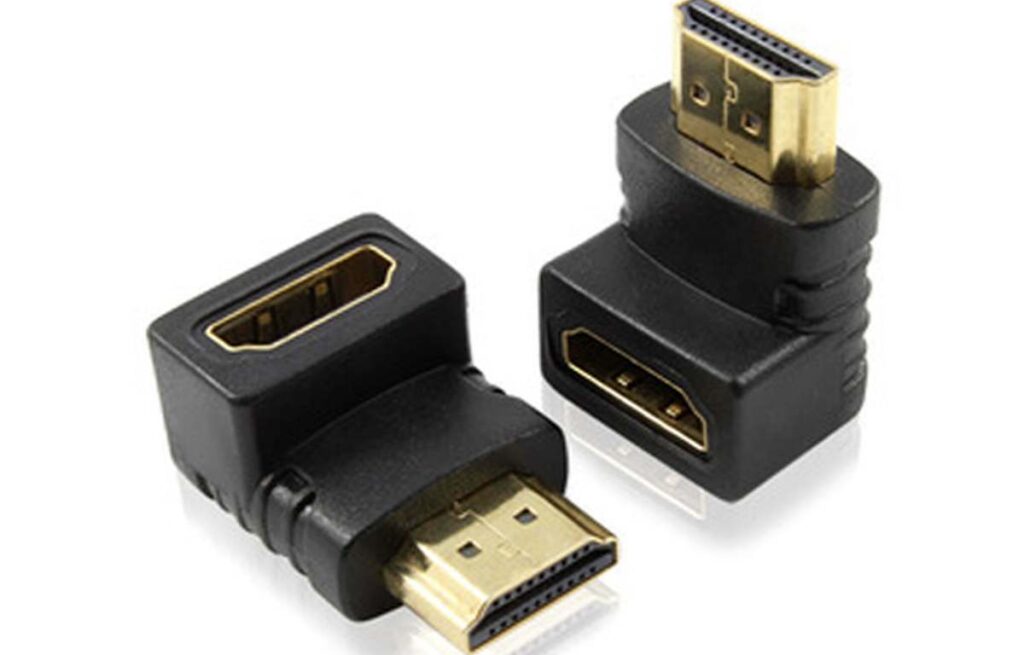
Use 90° HDMI couplers
If you are planning to wall mount your TV close to or on the wall, you will need 90° HDMI couplers for your media devices to reduce bend-stress on the HDMI cables at the neck before they go into the ports.
This will keep the HDMI cables running smoothly behind your TV in tight spaces.

Run the TV cables through the TV stand
Running the Tv cables through the back of the TV stand is a great way to hide the cables.
If your TV is wall-mounted, you can install an on-wall cable channel to feed the cables to the TV. You will only need to use a screwdriver to secure it to the wall and a hacksaw to cut it to the right length.
Another way to hide TV cables on a wall-mounted TV and prevent them from dangling is by using customizable raceway kits or cord covers. These can be mounted on top of the wires or stuck on the wall using an adhesive for you to run the cables through.
You can also repaint the cable concealer to match the color of your wall for a seamless blend.
Feed your TV cables through the wall
In-wall TV cable concealment is popular among home theater owners.
This can be done by drilling the drywall behind the TV and using in-wall-rated cables or using any of the following;
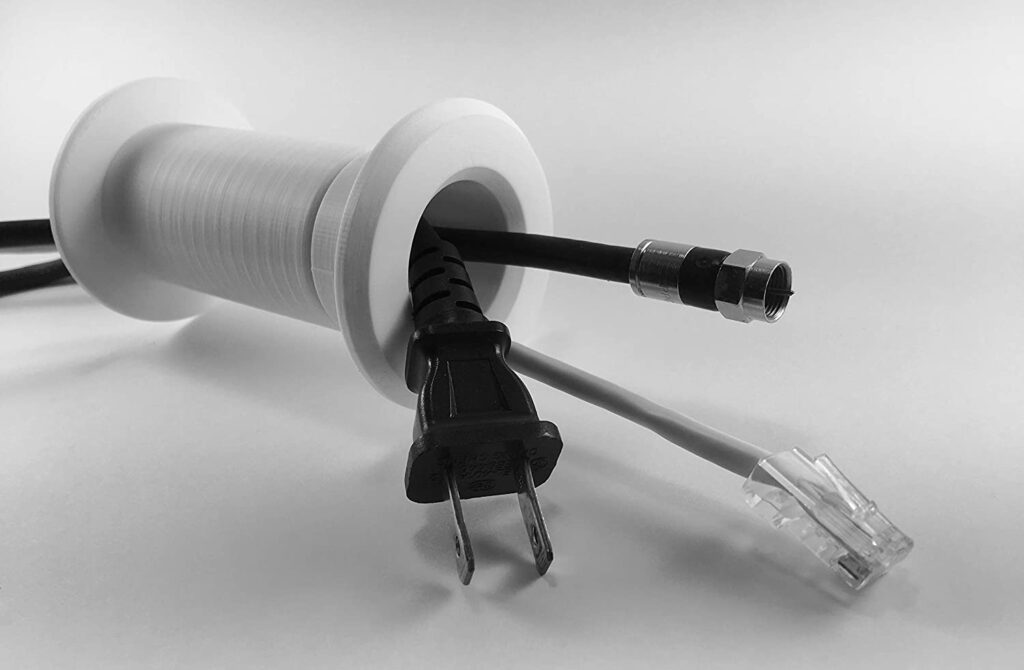
- Pass-throughs for powered cables that have slots for running both the power cables and media cables. To install these power cable pass-throughs, you will need to cut the perfect hole, install the brackets, and run your cables through the brackets.
- Cable pass-through grommets for audio and HDMI cables. You will need to cut fitting holes for the grommets, install the grommets then run the cable from the top to the bottom.

It would also be a great idea to get a professional to do in-wall cable concealment for your TV cables. This does not cost much or take much time.
4. Hide speaker wires
Before you begin make sure you have the right speaker wires with the right length depending on the wire gauge. For a length of 20 feet or less, use a 16-gauge wire but if the wires will run for longer than 20 ft, use 14-gauge or thicker wires.
Also, if you live in a rented space, you should double-check with your landlord before doing any major modifications.
Install plastic cable raceways/covers
Cable raceways/covers/ducts can be used to hide your speaker wires.
Raceways come in a variety of shapes and sizes and can also have an adhesive for attachment to the wall, elbow joints, covers, connecting pieces, and even screws. You can run cable raceways around doorways, up walls, and above baseboards, and can also be painted to match the color of your wall. However, removing raceways is not easy as they leave traces at the points of attachment.
An alternative to raceways is using cable covers that are rounded at the top and flat at the bottom. They do not always need adhesive to hold them in place.
You will need to make sure that the cover or raceway you are buying is big enough to run a bundle of wires.
Fit the speaker wires between baseboards and carpets
Most rooms will have baseboards with spaces between them and the floor for carpeting. You can use a stir stick or ruler (avoid sharp objects that can cut the wire insulation) to tuck your speaker wires between the carpets and baseboards.
This may not always work, especially for speaker wires with smaller gauges but if there is enough space to fit the wires, avoid running them through the side where the door is.
You can also run the speaker wires through the corners of the floor under the carpeting if they are too thick.
Use wire ties and adhesive pads
For a bundle of speaker wires, tie them together using wire ties then attach them to your walls’ moldings using adhesive pads or cable clamps.
After attaching the wires to your walls, you can paint over them to match the color of the wall and camouflage them.
This cable concealment option can also be used for TV cables and other cables in your home theater.
Use super-slim adhesive speaker wires
Super-slim speaker wires are flat wires that are mainly 16-gauge wires with 2 or 4 conductors. These speaker wires are mainly low-voltage wires that come in different varieties. You will also need flat speaker wire terminals pairs for each speaker if you decide to use this option.
To install these wires, you will need to stick the adhesive side to the wall which will leave the paintable side exposed. You can then paint over the wires to make them blend in for invisible concealment. However, you may have some noticeable lumps where you may be forced to bend the wires at corners.
When using flat speaker wires, you can leave the plug terminals exposed at the ends or use junction boxes to add better style.
Hide the speaker wires inside the wall or ceiling
Running your speaker wires through the walls and the ceiling will require more work. However, you can do it by yourself or hire a professional to do it for you.
You can also use in-wall and in-ceiling speakers if you decide to take this route but more planning will be needed.
Even without in-wall or in-ceiling speakers, you can still fish the speaker wires after cutting holes where you can run the wires through. You can then install grommets/plates/junction boxes at the hole cuttings where the ends of the speaker wires will pass through.
5. Organize cables behind your component rack
If you have a component rack where you keep your receiver, amplifier, consoles, Blu-ray player, TV box, and so on, you are going to have many cables and wires running through.
You can use wire ties or zip ties to bundle the cables together but do not crunch them too tightly as this can damage the insulation.
Tie the power and AV cables separately to reduce electromagnetic interference then cut off the excess ties. After this, use adhesive pads or clamps to attach the cables to the cabinet or rack for a cleaner look.
6. Use chair rail molding
To install chair rail molding you will need to do a deliberate and considerable amount of planning when building or re-building your home theater. You will need to measure your wall to determine how much molding you will need.
After installing your studs, you can mount the rail molding to the wall firmly. The molds need to be cut perfectly to fit each other precisely at each end.
Go wireless
If you want to avoid all the hassle that comes with managing and concealing all your cables and wires, you can always use wireless components. These components can then be connected by either Bluetooth or Wi-Fi.
You will also have a lot of flexibility when it comes to where you can place your speakers and other devices without having to worry about the length of the cables.
However, you should note that going fully wireless is more expensive.


